
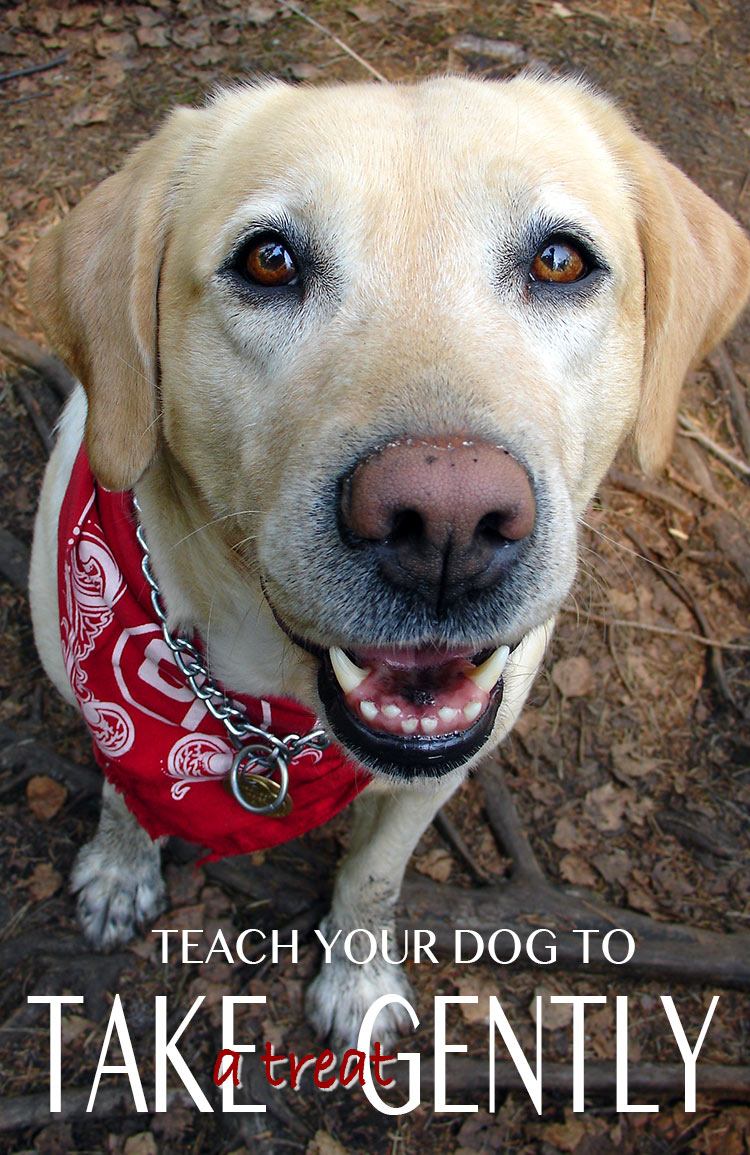
How do I teach my dog to be gentle?
Teach A Dog To Take A Treat Gently in Six Easy Steps
It’s a bit of a shock when you offer a treat to a dog and he takes half your hand off!
And it’s pretty embarrassing when it’s your own dog doing the snatching.
Especially when the person offering the treat is a child.
Fortunately, there is a solution.
In this article I’ll explain out how to teach a dog to take a treat gently in just six easy steps.
Does it matter if your dog snatches?
Dogs that snatch and grab food from your hand are a problem. Some dogs that do this may even nip your fingers. Not only is it bad manners, it really hurts.
 Even more importantly, it makes it very difficult to train a dog if is unable to behave politely around food or to take treats gently from your hand.
Some people try to get around the problem by throwing food to the dog, or putting it on the floor. Which is certainly preferable to having your fingers gnawed.
Don’t miss our in-depth investigation into the Silver Lab controversy!
But it doesn’t solve the problem permanently, or help other people that might offer food to your dog. ( I know, they should ask first, but people often don’t)
Is it possible to stop a dog from snatching?
Yes it is possible to cure a dog of snatching and to teach your dog to take treats gently
You don’t have to put up with a dog that mugs your hand every time you pick up a treat or a dog that swallows half your hand when you feed him.
You can put a stop to this behavior right now.
How to teach a dog to take a treat gently
This simple training technique is for friendly but greedy dogs that snatch and grab at food very rudely.
And will teach your dog to take treats gently. You will need to chose your marker and follow the six steps.
Your Marker
Because this exercise depends on shaping, and on accurate timing, you will need a marker.
[wp_ad_camp_2]You’ll be using the marker to let the dog know when he gets it right
A clicker is a great marker for this exercise.
Or you can use your voice.
It is a little more difficult to mark as precisely with your voice.
If you want to do it this way, choose a snappy word such as YES!
Say it in a consistent, clear, upbeat way. And use it instead of the ‘click’ described in the instructions below
You will need to charge your clicker first if you have not clicker trained with this dogbefore.
Training method
Every mark must be followed by a reward.When you reward the dog following your ‘mark’ you can do so by dropping a treat from the other hand.
Or by opening your closed fist and letting your Labrador take the treat.
I recommend that you start with the former and switch to the latter when the dog has learned a little self control.
Lets see how that works in practice.
Step one: move away from the fist!
In this first step let your dog see you put a tiny treat in your hand and close your fist around it.
Now stretch out your arm and put your closed fist in front of the dog’s nose.
Have your clicker ready in your other hand.
Don’t open your fist.
Most Labradors will now begin to lick and poke at your fist repeatedly, some dogs will paw at your fist too.
 You must watch the dog like a hawk and be ready with your marker.
At some point, in frustration the dog will fleetingly stop all this activity and pull away fractionally from your hand.
Now is your chance.
MARK this moment by pressing the clicker, and then drop a treat on to the floor with your other hand.
Repeat several times until the dog is beginning to get the idea that he only gets a treat when he leaves your fist alone.
Before very long the dog will lean away from your fist and wait for your click.
Now move straight on to step two.
Step two: no poking
In this step we want to teach the dog not to poke at your fist at all.
So you will click and treat when he moves away from your fist
And then click and treat again, before he goes back to poking your fist.
The idea is to prevent a cycle of poke/back away poke/back away getting established.
You are simply rewarding him for staying right where he is, with his muzzle well away from your fist.
Step three: self restraint
Now you will reward the dog for ‘restraining himself’ even whilst you ‘load up’ your fist with a fresh new treat.
So you will have your treats in your bag or in a container on a raised surface. You will take a fresh treat and put it in your fist, and start to extend your fist towards the dog.
If he moves towards your fist withdraw it.
If he remains still C&T
[wp_ad_camp_4]
To begin with you may have to C&T really early on as you load up your fist, then when you extend it just a little way.
Then finally you will be able to extend it to within an inch or two of the dog’s muzzle without him moving towards it.
Set him up to succeed.
Only C&T if the dog remains patient. Go back a step and practice some more if the dog fails.
Step four: opening your fist
Once your dog is able to wait patiently for several seconds in front of your closed fist, you can begin to open the fist.
But not all at once.
To begin with just uncurl your fingers a fraction and then tighten them again.
Only C&T if the dog remains patient, if you moves towards your fist as you uncurl your fingers, make a smaller finger movement next time.
Don’t give the dog the treat in your fist yet.
Unwrap your fingers then wrap them back around the food before you C&T and feed the dog by dropping food from your other hand.
Build up gradually until you are able to uncurl your fingers and hold your open palm in front of the dog.
Step five: feeding from the palm
On the next repetition of the exercise, instead of curling your fingers back around the food, leave your hand open
Click with your clicker and push the palm of your hand up to the dog’s mouth immediately and let him eat the treat from the palm of your hand.
But we don’t want him to think this means next time he can go back to grabbing the food, or that every time food is in front of him he can take it.
So for the next few repetitions go back to step three, wrapping the food back up in your fist and feeding the dog from the other hand.
Then begin to alternate steps three and four.
Each time you feed the dog from the palm of your hand you can now add the cue ‘take it’.
Soon you will be able to cue the dog to take the food without moving your hand towards his mouth, but simply by saying ‘take it’.
Should the dog attempt to take the food before you give the cue word, just wrap your fingers back around the food again.
Step six: feeding from the fingers
Your dog now knows he cannot have the treat unless you say ‘take it’.
[wp_ad_camp_1]Now you can try offering him the treat from between your finger and thumb.
If the dog tries to take it before you give the cue, pop the food back inside your closed fist again.
Spend at least a day or two at each step.

Don’t move on until the dog is successful.
If your Lab starts to struggle again at any of these steps, just go back to the previous one for a while and practice a little more.
Did you find this technique helpful?
If so, or if you have any questions, drop your comments in the box below.
No comments:
Post a Comment